 Skip to content


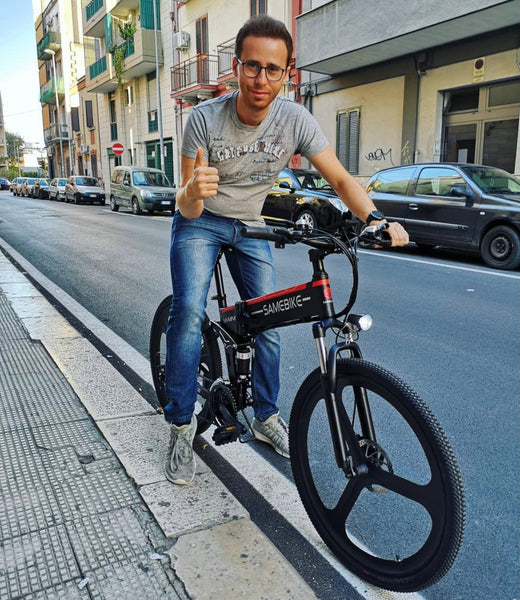
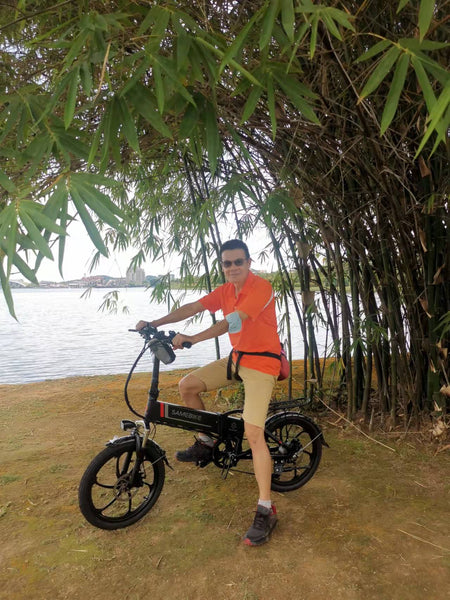
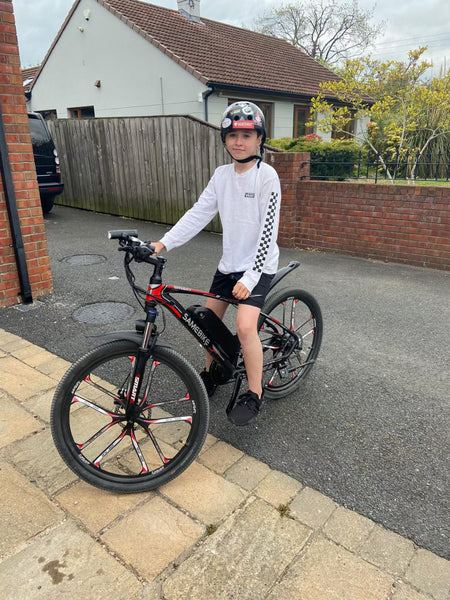
How to ride bike as beginners?
Cycling tips.
For beginners, the biggest fear in learning to ride a bike is losing your balance. Balance is influenced by several factors. First, physical fitness, second, mental fitness, third, the quality of the bike, and fourth, the body's centre of gravity.

1. Basic cycling skills
(1) Posture
The correct cycling posture is: lower the upper body, tilt the head slightly forward; bend the arms naturally, so as to lower the body's centre of gravity and prevent the impact of bumps from being transmitted to the whole body; hold the handlebars lightly and strongly with both hands, and sit firmly on the seat at the hips.
(2) Pedalling
There are three methods of pedalling for cycling: freestyle, toe-down and heel-down.
1、Free-style pedalling method: At present, most of the best athletes use the free-style pedalling method. In this method, the ankle joint angle changes as the foot rotates around. The freestyle stirrup is in line with the mechanics, the direction of force is in line with the tangent of the circle formed by the rotation of the stirrups, reducing the amplitude of knee and thigh movements, which helps to increase the frequency of the stirrups, pass the critical zone naturally and reduce the dead spot. The thigh muscles are also relatively relaxed. However, this method of stirring is difficult to master.
2. Toe down stirrup method: The stirrup is characterised by the fact that the toe is always down during the whole stirrup rotation process.
3、Heel down pedaling method: The heel down pedaling method is toe up slightly, heel down 8~15 degrees, this method is rarely used in normal riding, only a few people use the heel down pedaling method when they make excessive transferring force during the riding process. It is characterised by the muscles changing their state of exertion within a short period of time and getting a short break to recover from muscle fatigue.
2. Turning techniques
(a) Tilt method: the car body is a line, tilting towards the bend.
1、Body weight based on the car to tilt inside the bend, people and cars to maintain the same tilt angle.
2、Straighten your outside knee and subconsciously put a little more effort into it, as if you were going to push the pedal down (but don't come to us if you do).
3. Press your inside knee against the beam, this is a good way to adjust your trajectory and reduce the pressure to reduce the bend.
4. Pull up slightly on the handlebars with your outside hand. Two good times to use lean.
You can use less sharp turns (less than 45 degrees) to accelerate; you can clearly see ahead but are unfamiliar with the bend on wet asphalt roads. Two drawbacks of leaning: in the rain, although this turning technique gives you a good traction, its angle and weight distribution and arrangement are less conducive to wet roads; the leaning technique is not as sensitive as the corresponding twist.
(ii) Putting the direction method: the car stays a little upright and the body leans inwards towards the corner.
1、Move forward until the nose and brake handle are in line.
2. Keep the car upright and lean your body into the bend (enough to keep the outside arm straight).
3、Tilt the handlebars towards the inside of the bend.
4、Bend the elbow of the inside arm to pull the handlebar back, while the outside arm pushes the handlebar out to turn it.
5. Keeping both knees buckled in, continue pedalling.
Stage 1: Buy a new electric bicycle, find a flat open space about 40m long and 20m wide (smaller is fine), learn to push the bicycle, the speed should be 6-8km/h when pushing, learn how to brake with your left hand, pay attention not to fall sideways, the time is about 1 day (up to 2 days for slow ones). Features are very physically demanding, a break can be taken to learn again.
Stage 2: Park the electric car, support the frame, first dial the electric door to slow gear (low speed gear), left hand lightly hold the brake, right hand gently twist the electric door to accelerate (try the acceleration method), left hand test brake the rear wheel, watch the braking effect, familiar with the available, master the acceleration skills, not to be able to accelerate on the line, the key is to accelerate evenly from small to large, control the speed in about 5km/h. The duration is about half a day. It is more physically demanding and you can learn again after a break.
The third stage: test frame, both feet fork the ground, try to accelerate the electric gate, left hand pay attention to pinch the brake handle to prevent falling, mainly for the side, the speed should be controlled at 5km/h or less, looking for a sense of balance. May occasionally have a sense of balance on flat ground or downhill (slightly inclined place), key body sitting upright, sitting straight, hands forked in the direction of the handle (try not to swing from side to side to find a sense of balance), about 2 days, at most 3-4 days. Features are very physically demanding, rest for a while can be studied again, probably both legs should be sore.
Phase 4: slowly add to five thousand meters per hour to ten kilometres per hour, evenly add electricity to accelerate, here is very important, control the speed of the hour at the same time pay attention to the safety of the test frame, the sense of balance during this time is getting better and better, occasionally three meters, five meters, seven meters or ten meters car balance, the speed has been faster pay attention to safety, occasionally side fall may have been bruised or slightly scratched lower limbs, no big deal, this is inevitable. The time is about 3 days, you can practice again every two days, because it is very physical, rest for a while can learn again, may be both legs are to pain.
The fifth stage: after the addition of electricity skills are very skilled, try to control the speed between 12-15 km/h, the speed has been very fast, the basic sense of balance, the feet can leave the ground slightly lift up clip on both sides (not placed on the pedals), the key hands fork the handlebar, the body sitting straight, both eyes flat in front, this time there is a special sense of balance, you can go around the dam a lot of circles, while learning to turn left or right at the same time, the method of turning. The angle must not be too small, it is easy to fall sideways, about 2 days. It is very physically demanding and you can learn again after a break.
Stage 6: sit in the car, sit straight, sit upright, twist the electric door to accelerate, at a speed of 15km/h balance is good, in the dam can move in a straight line, control is more comfortable, counterclockwise or clockwise movement is more possible. The feet may still fall on the sides not on the pedals. At this point, the interest in learning is growing, and the sense of balance is particularly good at 20km/h. Both hands can now balance the direction of movement left and right, and the balancing skills are basically mastered, so that you can ride many laps with your feet pinned to your sides for about 2 days. It is more physically demanding and not as strenuous as before.
Stage 7: focus on learning left or right turning methods (because the front has learned a turning method), while learning to sound the horn, left and right turning lights, headlights, small lights switch, learn until skilled, one hour can basically learn to turn left or left, but not skilled, the best speed between 10-12 km/h, and then gradually rise to 12-15km/h. At each stage it is important to pay attention to the tight grip of the brakes, which are the brakes of life. It takes about 2 days, or at the very slowest 3 days. More physically demanding, not as strenuous as before.
Stage 8: You can put your feet on the pedals, turn left and right more freely, your sense of balance can be controlled freely within 15km, no big deal, while learning to honk the horn and left and right turn lights at the same time. At this stage there is some difficulty in turning at speeds of 15-20 kph. The balance is mastered comfortably within 10-15 km/h, but is more difficult below 10 km/h. Duration is approximately 2 days.
Stage 9: Key learning to balance at low speeds of 6-8km/h on a narrow road 2m wide. A small simulated road with three lines (1m between lines) drawn in chalk within the dam, turning and driving to occupy as much of the right lane as possible, but not driving off the right line, which is a kerb or rocky edge. Test frame mastery of balancing at 6-8kph (previous ones were basically high speed balancing).
This stage of learning is important and should take no less than 5 days at least. In this speed clockwise, counterclockwise driving, turning flexible and comfortable, very safe, did not exceed the right line, to reach the degree of proficiency before the end of learning. 6-8 km/h is basically the speed of people walking, driving in a crowded environment or in the narrow road each other must be low speed, in more than 10 km/h too fast easy to crash or hit people, in the highway to occupy the road to drive a safety accident to be responsible. The feature is that at this stage you will not fall over and the car will not fall sideways.
Stage 10: After driving at low speed and turning flexibly and freely on a small 2m highway, practice dodging and avoiding people at the same time, press the horn, left and right turning lights, front brake handle, rear brake handle practice, so that after being skilled, you can drive on the road, driving on a wide highway is certainly smooth and without any problems, driving on a narrow road should be practiced more often. Remember: always obey the rules of the road.
It is often seen on the road that some young people on e-bikes do not obey the traffic rules, not only run red lights, but also drive in the opposite direction, which is quite dangerous, so I would like to warn those who ride e-bikes to pay attention to traffic safety, to protect themselves and not to hurt others.
Leave a comment